
To set up your blog, you need three things. They are,
- Blogging Platform
- Domain Name
- Web Host
Blogging Platform
A blogging platform or blogging software is a place where you create your blog.
There are many blogging platforms available like WordPress, Blogger, Tumblr, Weebly, etc. The most popular one is WordPress.
It is easy to use and you don’t need to have any technical knowledge.
Most amateur bloggers start blogging on the WordPress platform.
When I say WordPress, Don’t confuse yourself with whether it is wordpress.com or wordpress.org
WordPress.com is a website builder where you can register for an account and start creating content right away.
By using wordpress.com, you’ll be limited in how much power you have over your website.
WordPress.com has different plans. The flexibility depends on the plan you are choosing on wordpress.com.
Even the business plan doesn’t have as much flexibility as you do with self-hosted WordPress.
Whereas,WordPress.org is a free open-source WordPress software that you can install on your web hosting.
You have to just download the software from their official website and install it on your web hosting.
But, Don’t worry! Most web hosts make it easy to install WordPress with just a few clicks.
Isn’t it amazing?
I would always recommend using wordpress.org. So that you can have complete power over your blog.
All you need is a self-hosted WordPress blog(WordPress.org).
Choose Your Domain Name
In simple words, a domain name is the address of your blog. In Bluehost, you will get a free domain name for one year.
But how to choose your domain name?
Any idea?!!
Check this post to know how to choose the perfect domain name for your blog
Once you decide on your domain name, follow these steps to complete your purchase and set up your blog.
Note: In this post, I will be showing you how to set up a WordPress blog in Bluehost.
Steps To Get Your Domain And Web Hosting
Web hosting is an online service that allows you to publish your website and keep your website files on the internet.
Web hosting provides the server space where WordPress will be installed and all your files related to your website will be stored there. It makes your website available on the internet and keeps it online 24*7.
Most of the time your blogging software and hosting will be packed together.
There are so many hosting service providers available. Bluehost is the best choice when it comes to hosting. It comes with everything you need to set up your blog.
The best part about Bluehost is it will install WordPress for you.
Some of the best features of Bluehost are,
- Unlimited Bandwidth
- Unlimited Storage
- Free Domain
- Free SSL
- Live Chat Support 24X7
- 30 Days Money-back Guarantee
- Easy To Use
The good thing is, that hostings are cheap.
Let’s start.
Steps To Setup Your Blog
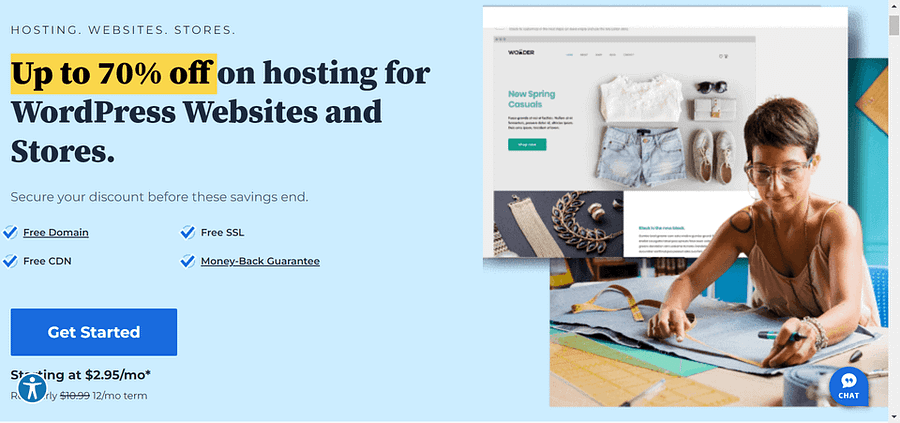
1. Go to Bluehost and click on ” Get Started “.
2. You will be redirected to a page where you can choose your hosting plan.
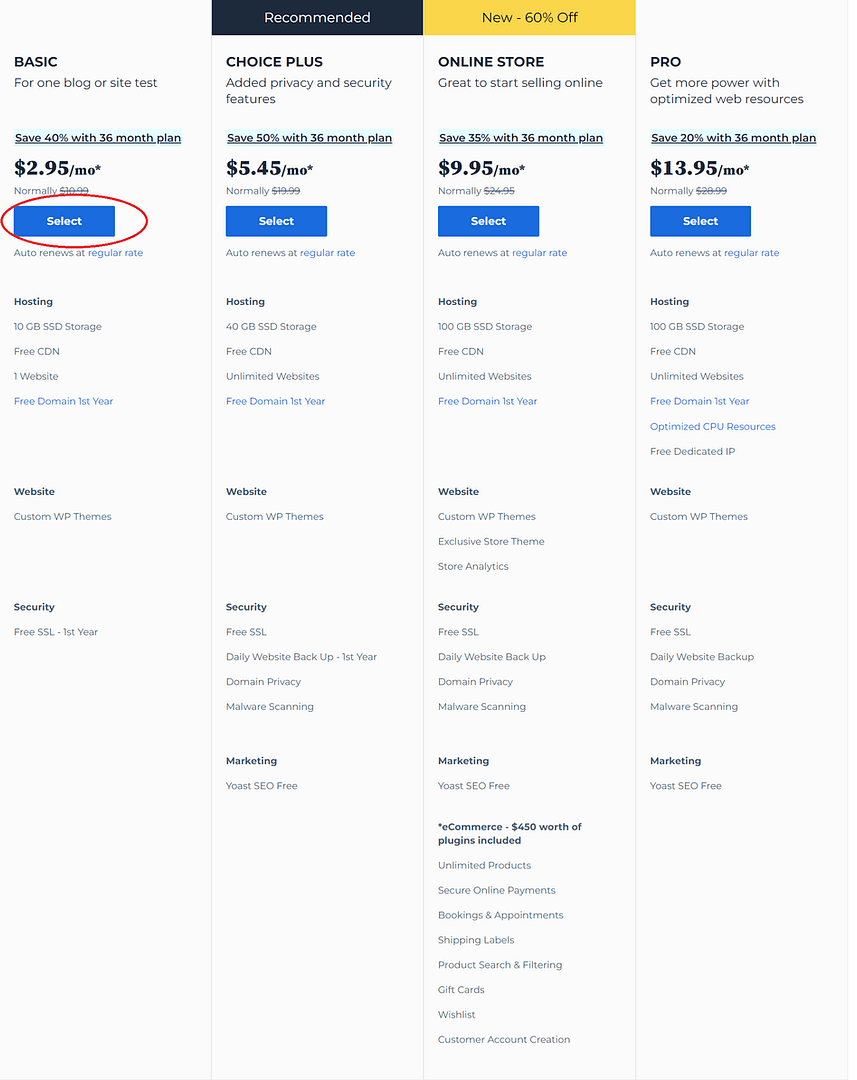
You can choose the plan according to your need. As a beginner, if you want to start one blog then you can go for the basic plan.
If you want to host more than one blog then go for other plans like Plus, choice plus, or Pro.
By clicking the select button under your plan, you will be redirected to a page to claim your free domain.

3. Claim your free domain name.
Here you have three options.
The left-side option is to claim your free domain.
If you already have a domain name then you can enter it on your right. In this case, you can claim your free domain later.
If you are not yet finalized your domain name then you can click the skip for now button.
Now you will be redirected to the package information and payment page.

4. You have to fill in your personal information. then choose your account plan.
By choosing the long-term plan you can save a few dollars.
Now, under the package extra section, you can uncheck everything except domain privacy protection.
Remember, you can add these add-ons at any time in the future.
Under the payment section, you can add your card details and make a payment.
5. Once payment is done, You have to create your username and password for your username and password.

6. Now, You will be redirected to a page called installation helper. You click “Skip this step” on the next few pages to be taken directly to the dashboard.

7. Bluehost will install WordPress automatically and create your blog in the next few minutes.
This will be done automatically and save a lot of hassles for beginners who just want a ready-made blog.
8. You can directly access your website’s admin panel.
You can access your admin panel from Bluehost directly or by typing yourdomainname/wp-admin in the browser’s search bar.


If you find any difficulties in any of these steps, please free to contact me or use Bluehost live chat support.
The best part is, the Bluehost team will do the entire process to set up your blog on your behalf if you wish.
Once they set up your website you can directly login to your administration panel.
Thats it!
In this case, they will provide you with a payment link, where you have to make the payment.
Comments are closed.